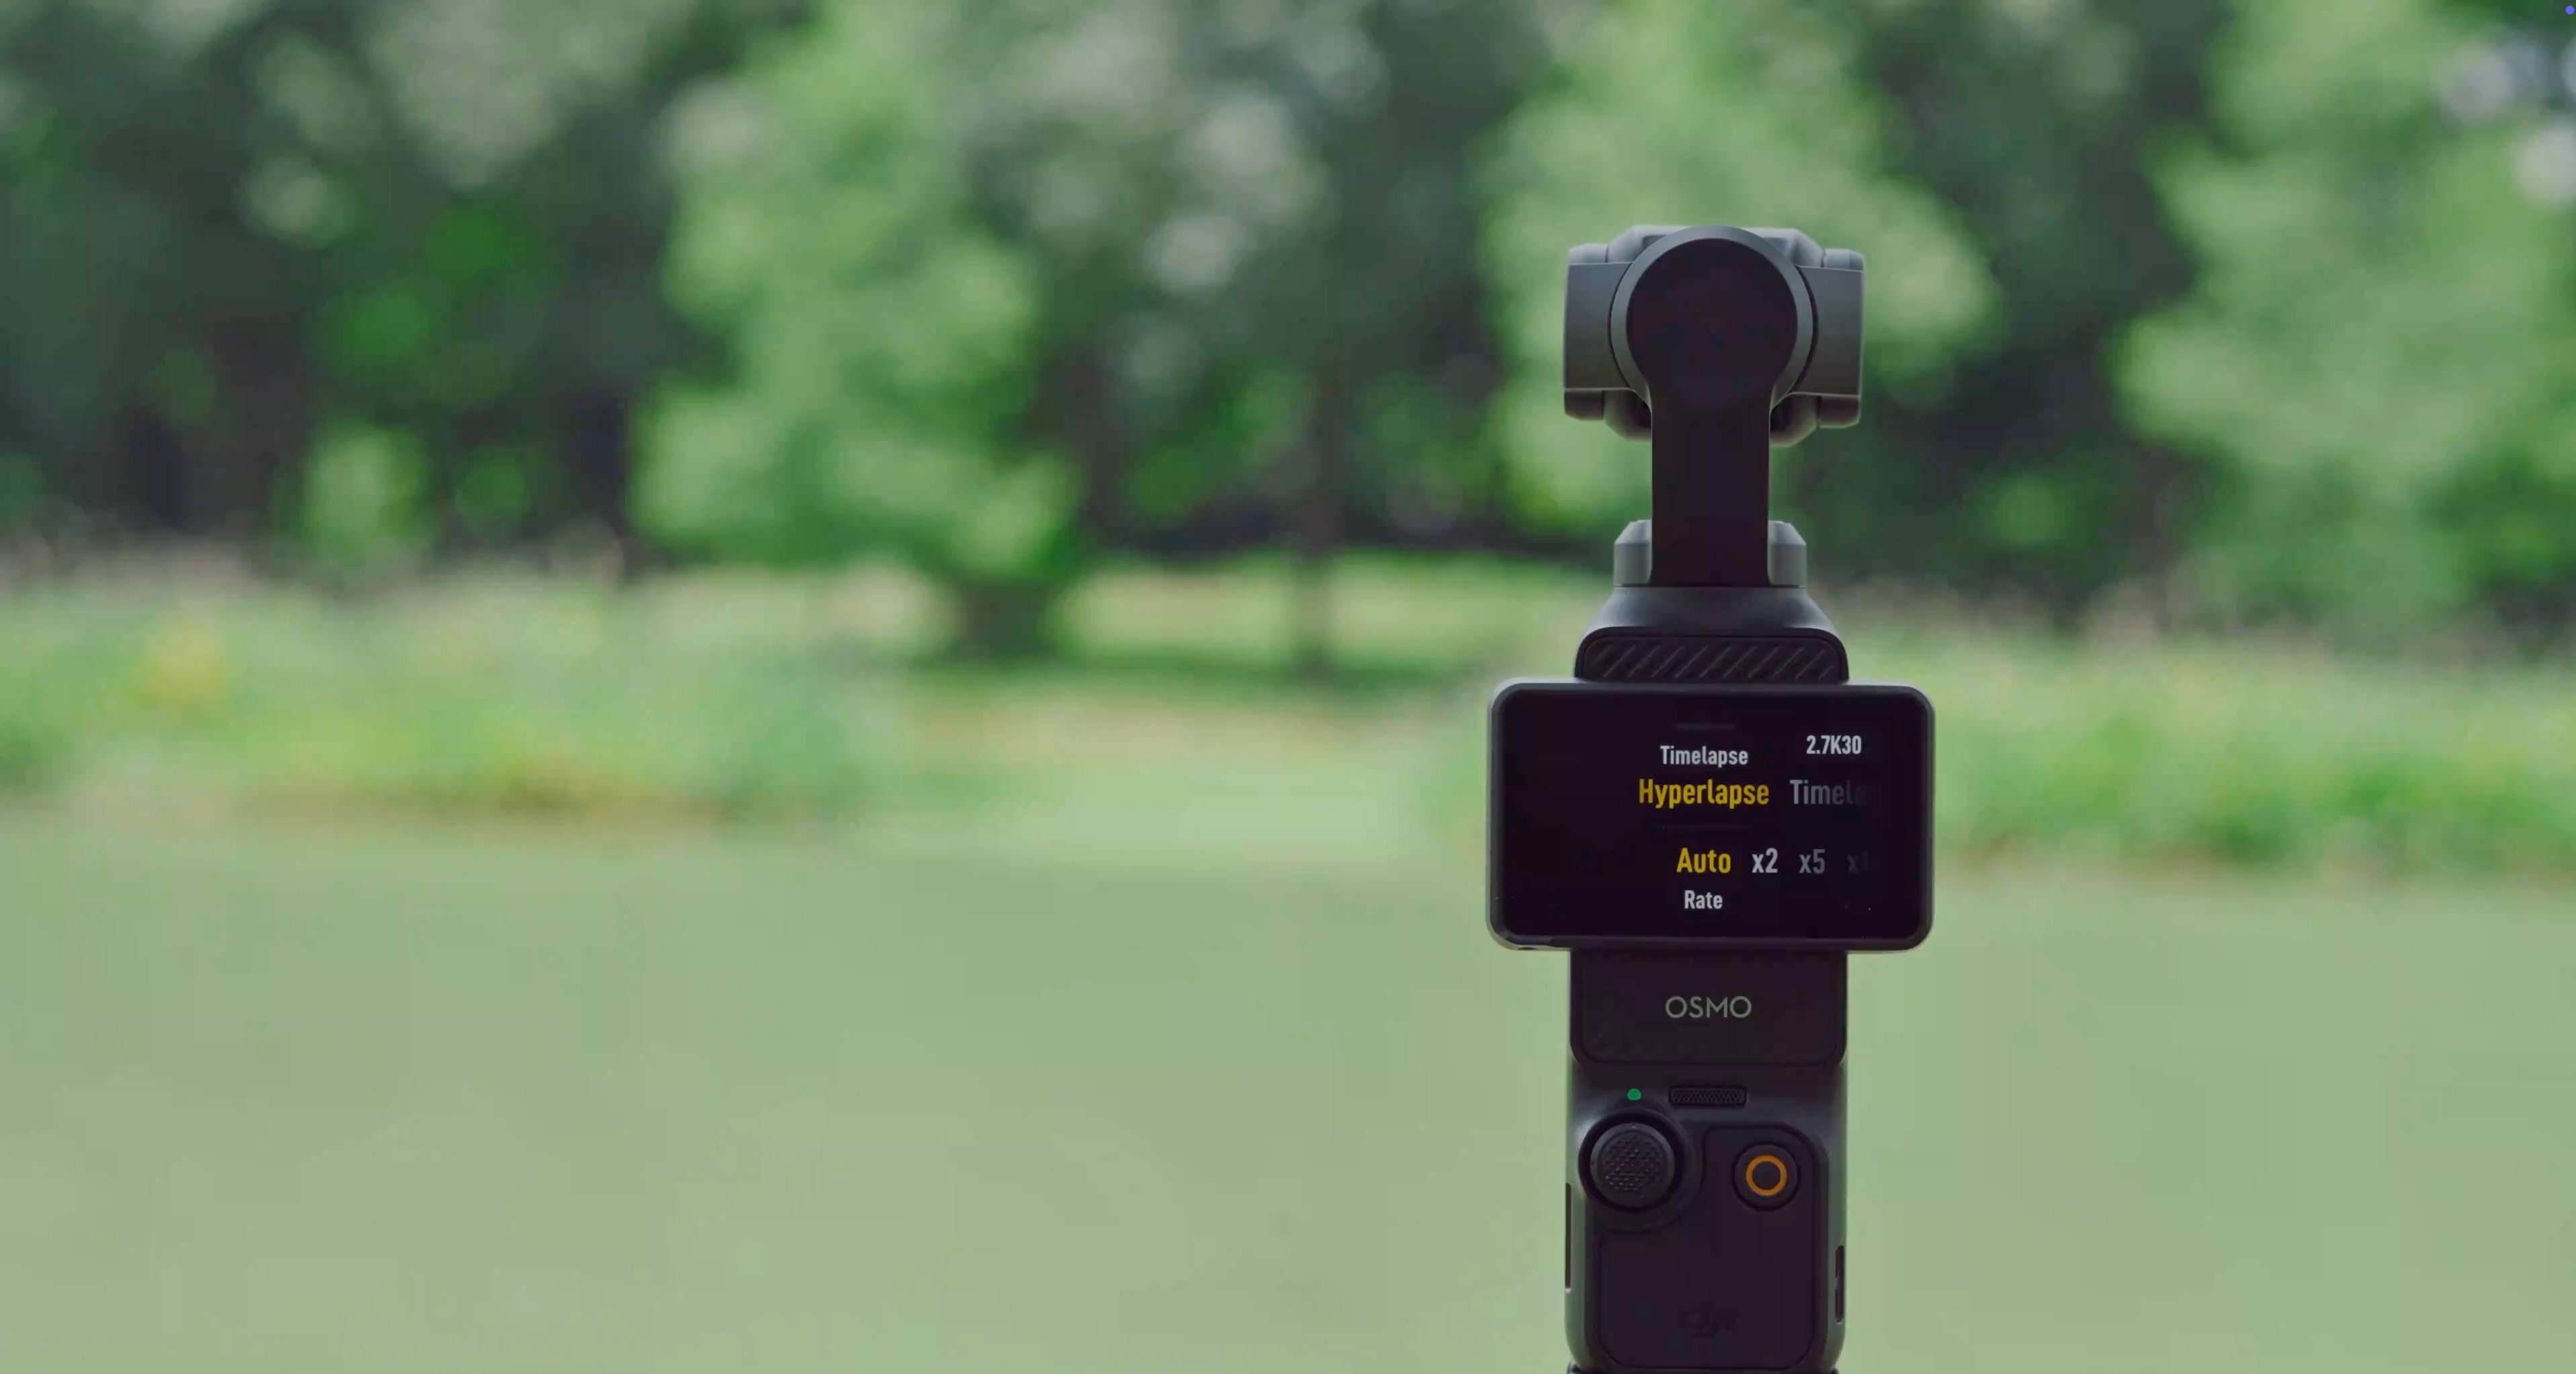
Turn Hours Into Seconds and Add a Cinematic Edge to Your Content
Want to elevate your videos with movement and drama? The DJI Osmo Pocket 3 gives you three powerful time-based modes that turn ordinary moments into visual highlights—all just a tap away.
To watch a video about how to capture timelapses with the DJI Osmo Pocket 3, check out this series of videos by DJI.
🎬 Getting Started
- Tap the bottom-left icon on the touchscreen to open Shooting Modes

- Select Timelapse

- Choose between one of three modes:
- Hyperlapse
- Timelapse
- Motionlapse
Let’s break down what each one does.
🚶 Hyperlapse
Best for adding movement to your timelapse. Instead of waiting for things to change around you, you move to capture something more stationary. This is best used for event walkthroughs, moving around buildings or points of interest, walking from A to B.
Hyperlapse captures timelapse-style footage while you’re in motion. It’s perfect for walking through a city, moving along a path, or gliding through an event. The gimbal smooths the motion, giving you a sleek, flowing visual effect over time. Simply press record and start walking. Keep your walking and gimbal movements slow and steady! You can choose how fast you want the Pocket 3 to speed up your footage. Typically longer the filming the faster you want it to be.

⸻
🌤 Timelapse
Best for capturing movement whilst being stationary. Eg. event room filling up with people, construction, clouds or sunset.
In Timelapse mode, the camera stays still while recording slow changes over time. Choose from three presets and a custom mode. These each have preset durations and how frequently they'll capture an image. The longer the interval the faster your timelapse will be and the longer you will record for.

Use a tripod for best results.
🔁 Motionlapse: Movement + Time
Best for capturing movement whilst your camera changes position using preset movements with the gimbal. This is best used to add subtle movement to your timelapses or for capturing things taking place that you can't entirely fit into your frame.
There are a number of presets (left to right, right to left, etc). The custom option allows you to choose where you want the camera to go.

Here’s how to set it up:
- Choose 2 to 4 waypoints for the gimbal to follow. For most use-cases we recommend 2.

- Move the camera to your starting point using the joystick, then tap the + icon in the middle of the screen.

- Move it to the end point, tap + again.
- Swiping up will allow you to customise the interval and duration.

- Hit record, and the Osmo Pocket 3 will glide from one point to the next over time.
If you need support, please reach out via Live Chat on the Platform.
