
In this quick guide you'll discover 7 key steps to filming a video.
1. Choose the right location
There are 5 things that you want to look for in a filming location:
Natural light: Natural light is your friend when filming! Choosing a location with lots of light is very important. If indoors, choose a space with lots of windows.
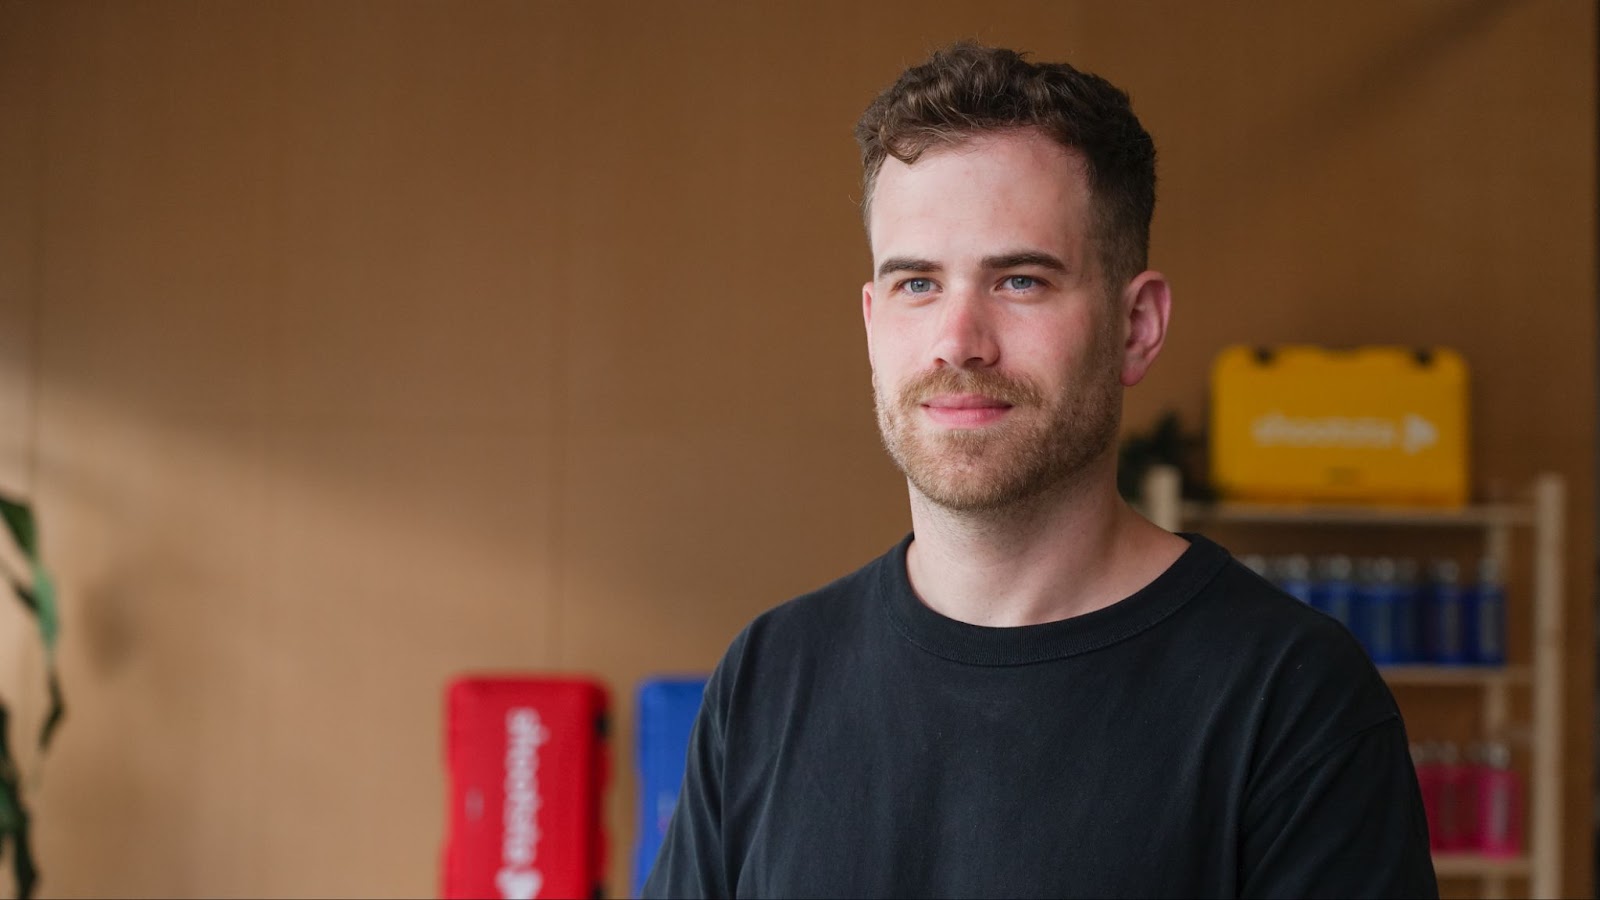
Depth: Avoid very small rooms when possible. The bigger the space, often the better it will be as a background in your video.
Subject with a lot of depth behind Subject with little depth behind
Quiet space: If you're recording audio you want a quiet space to record in and ideally one that doesn't echo too. Remember some areas might be quieter at certain times of the day.

Clean and without distractions: Your background needs to be clean and ideally free of distracting things. Often times this looks like clearing personal items off desks, tucking in chairs, etc. Whether something is distracting or not is often down to personal taste but a good rule is to avoid objects being right behind your subject or just having a background full of random objects. Simple is often better.
Relevant to your video: Your background should provide context to your video. So when possible, try choosing a location that is relevant to the message you're delivering. For example, if you're recording a video about an event, being present in the event when filming allows your audience to gain additional context to what is being said.
2. Light your subject
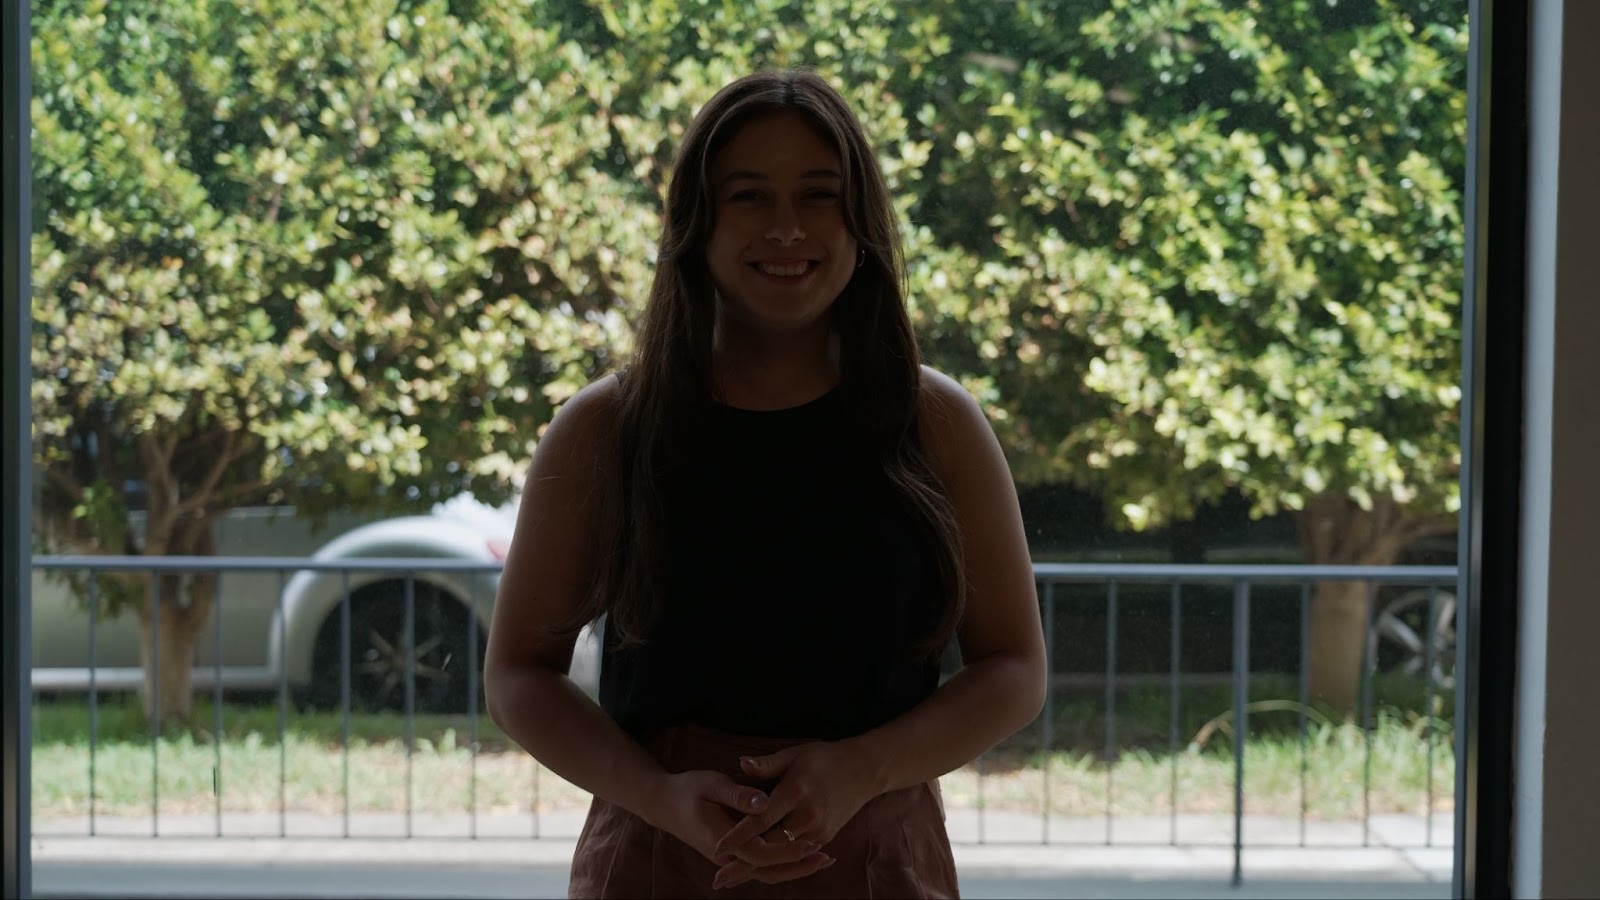
When filming it is in important to have your subject facing your source of light. When using natural light, this typically means facing windows.
Subject facing windows

If your subject has their back to windows, your subject will either be too dark or your background too bright.
Subject with their back to windows
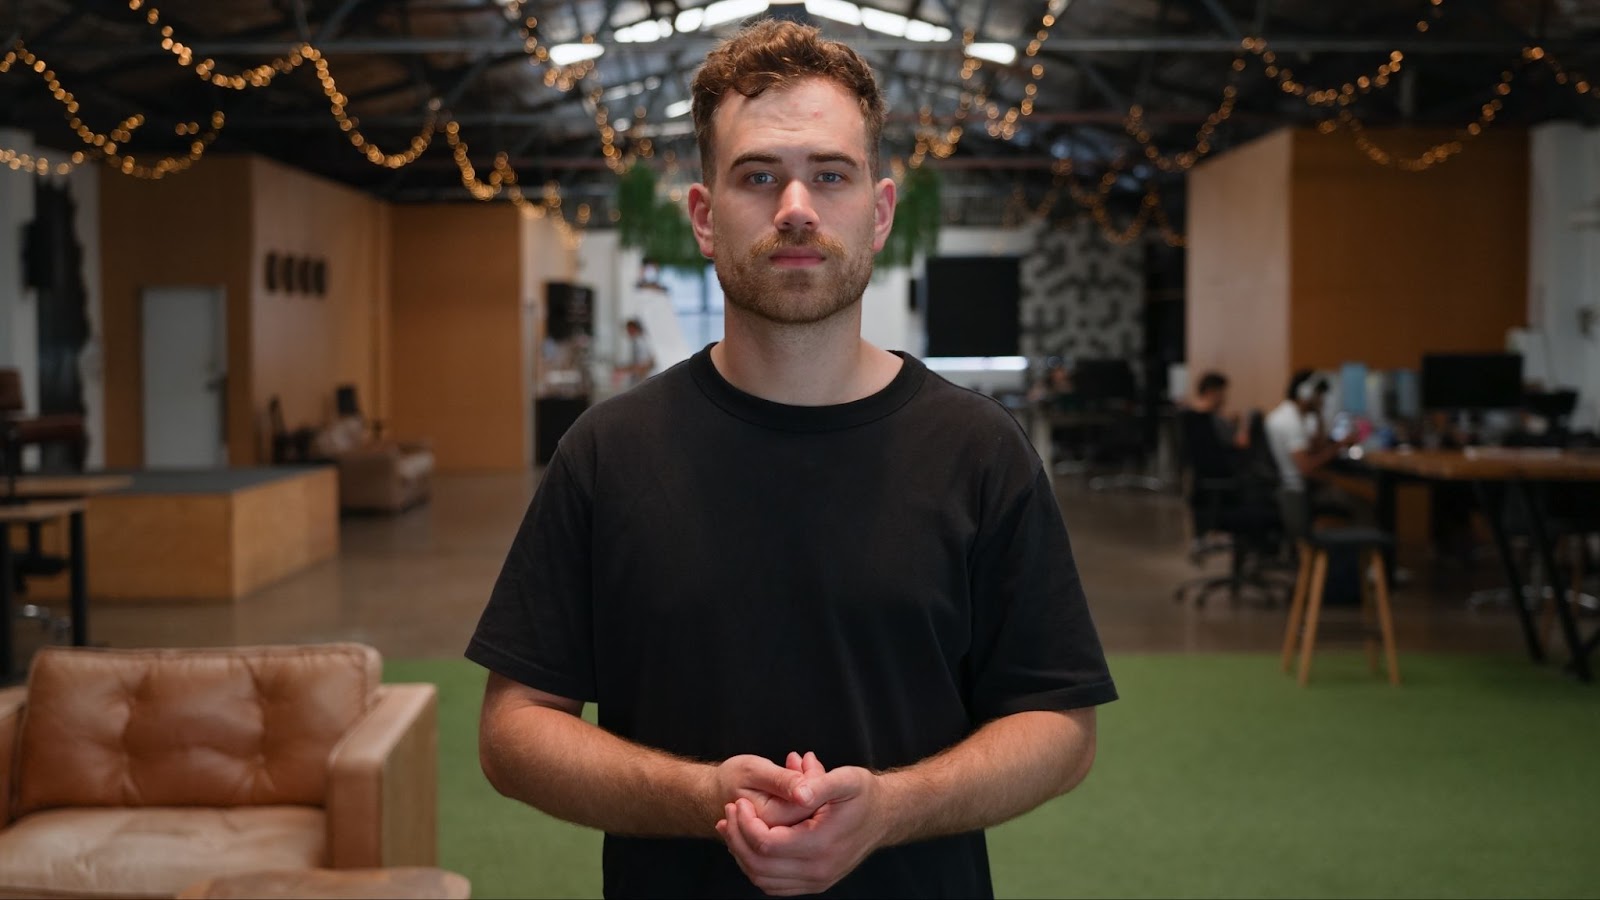
When positioning your subject, avoid placing them under overhead lights as this will cause many unwanted shadows on their face.
Subject lit by windows. Subject standing under overhead lights

3. Frame your subject
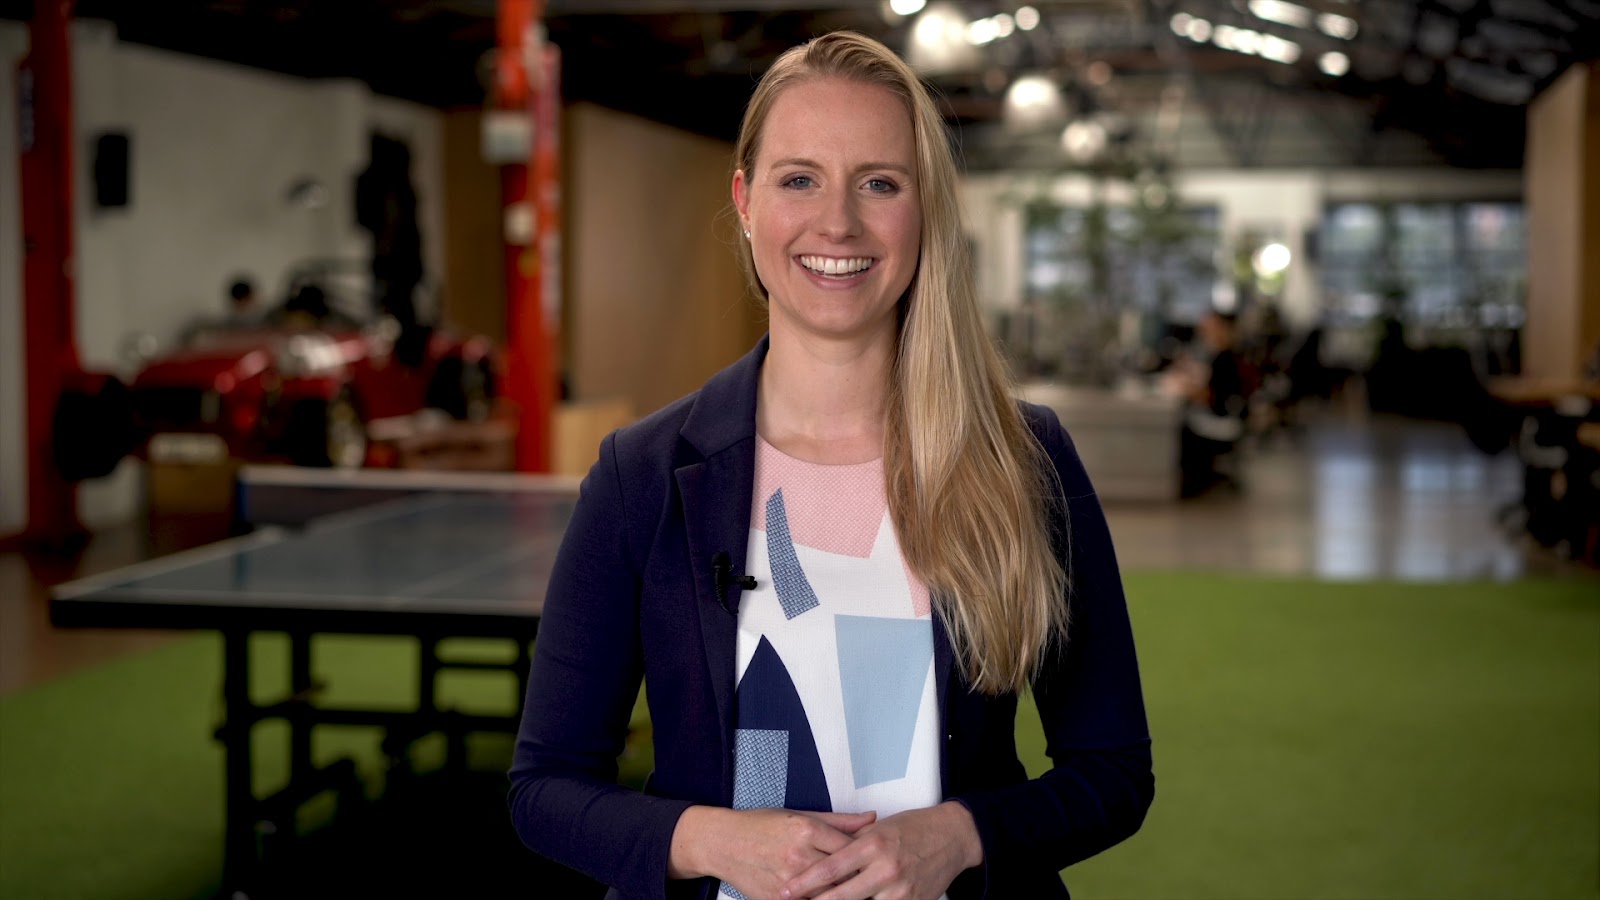
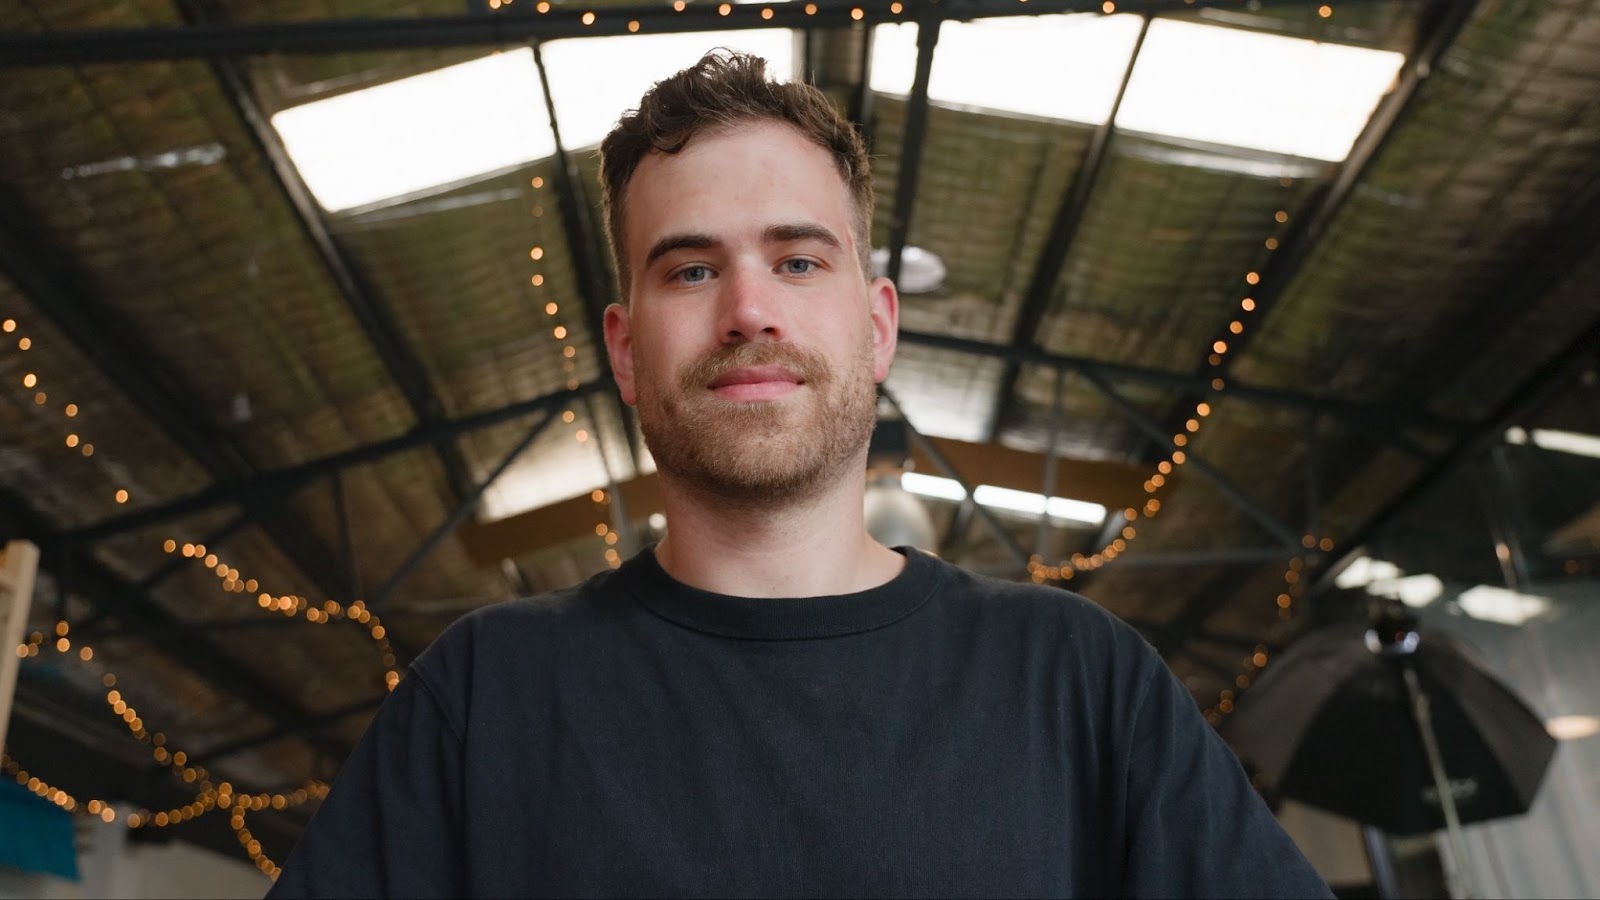
When positioning your subject in frame, aim to capture them in a mid-shot. The bottom of frame should be around their waist and the top of frame leaves a little room above their head.
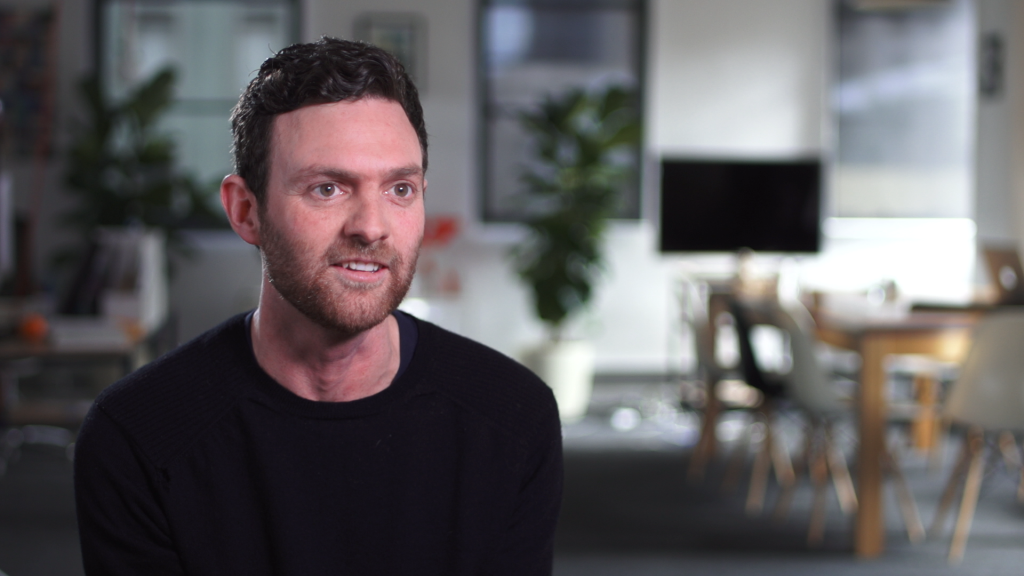
For an interview, position your subject off to one side looking away from camera.
When framing two people, position each person next to each other, still aiming to frame them both as a mid-shot.

To complete your framing, position your camera at eye-level. This will give a more personal feel to your video as well as (in most scenarios) look the best too.
Low angle High angle Eye level


4. Capture great audio
Capturing clear audio is a crucial component of any video that will need audio recorded. Ideally record all audio with professional mics - most popular being lavalier mics (there are many great options available like the Rode Wireless PRO).

When recording audio, remember these 4 things:
1. Record in a quiet space when possible.
2. Keep the mic close to your subject's mouth. Typically at their collar or around the middle of their chest.

3. Don't let anything touch the mic when recording!
4. Monitor the audio using headphones. If you can't connect headphones, record some sample footage and playback the recording to hear how your audio sounds.
5. Focus on your subject
Having your subject in focus is a crucial step in filming. Whilst most cameras have great autofocus, it is up to you to make sure they are in focus.
Some of the best methods to ensure your subject is in focus are:
- Look for the white focus square. Many cameras with face detection autofocus will place a white square over your subjects face or eye showing that they are the ones that your camera is focusing on. If the box is on something other than your subject, then that is the thing in focus and not your subject.
- Magnify your screen to double check. Most cameras will allow you to zoom in on the back of your screen (not on the lens) to double check focus. How this works will depend on your camera, but this feature allows you to check focus easily.
- Touch to focus. When filming on your phone or cameras with a touch screen, you can often touch the back of the screen to choose what you want to focus on. This will often lock the focus on that point so it doesn't move. If you do this method, keep your subject from moving forward or backward as they will move out of focus.
- Manual focus. This way allows you to set focus without relying on the camera. This method takes practice but can be very effective especially in situations where autofocus is struggling (eg. crowds of people or in low-light scenarios.
Please note, all of these methods might look different or not be available depending on your camera.
6. Capture cutaways
Cutaways or b-roll is incredibly important in your video for two reasons:
- They increase engagement and information retention
- They cover up any mistakes or cuts you make during an edit.
Cutaways are any footage that go over the top of a piece to camera or interview. Essentially they are the footage you cut away to.
When it comes to cutaways, they can be video clips you film, images, graphics, stock footage, slides, etc.
When recording cutaways, it is very important you have a variety of shot sizes: close ups, mid shots, wide angles.
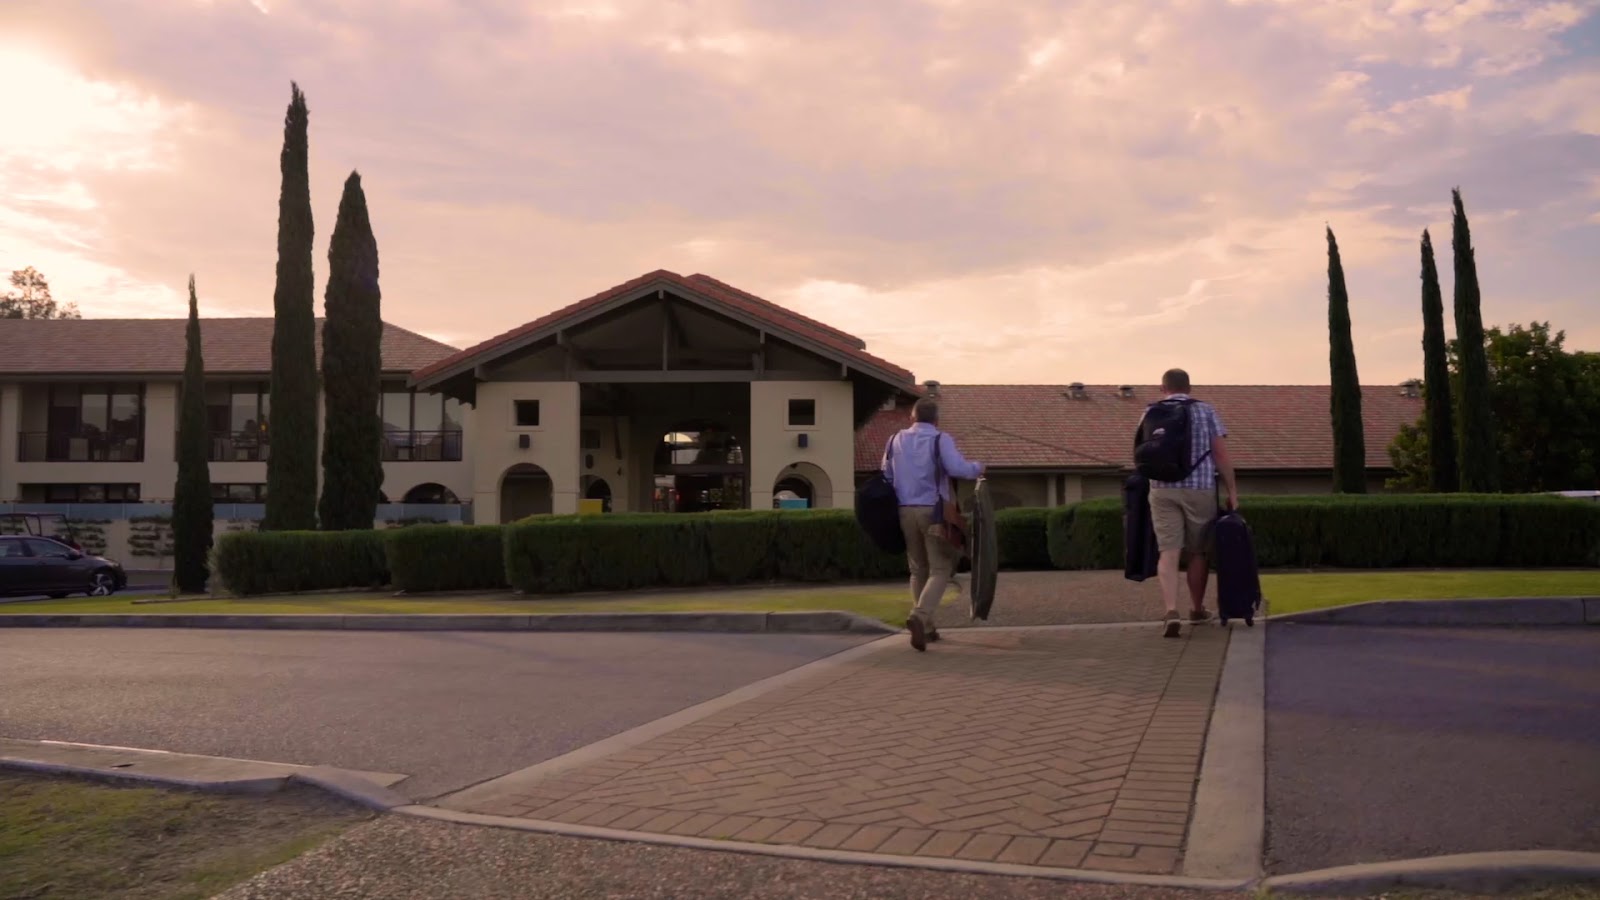
Wide angles establish context. Where you are and what's happening around.
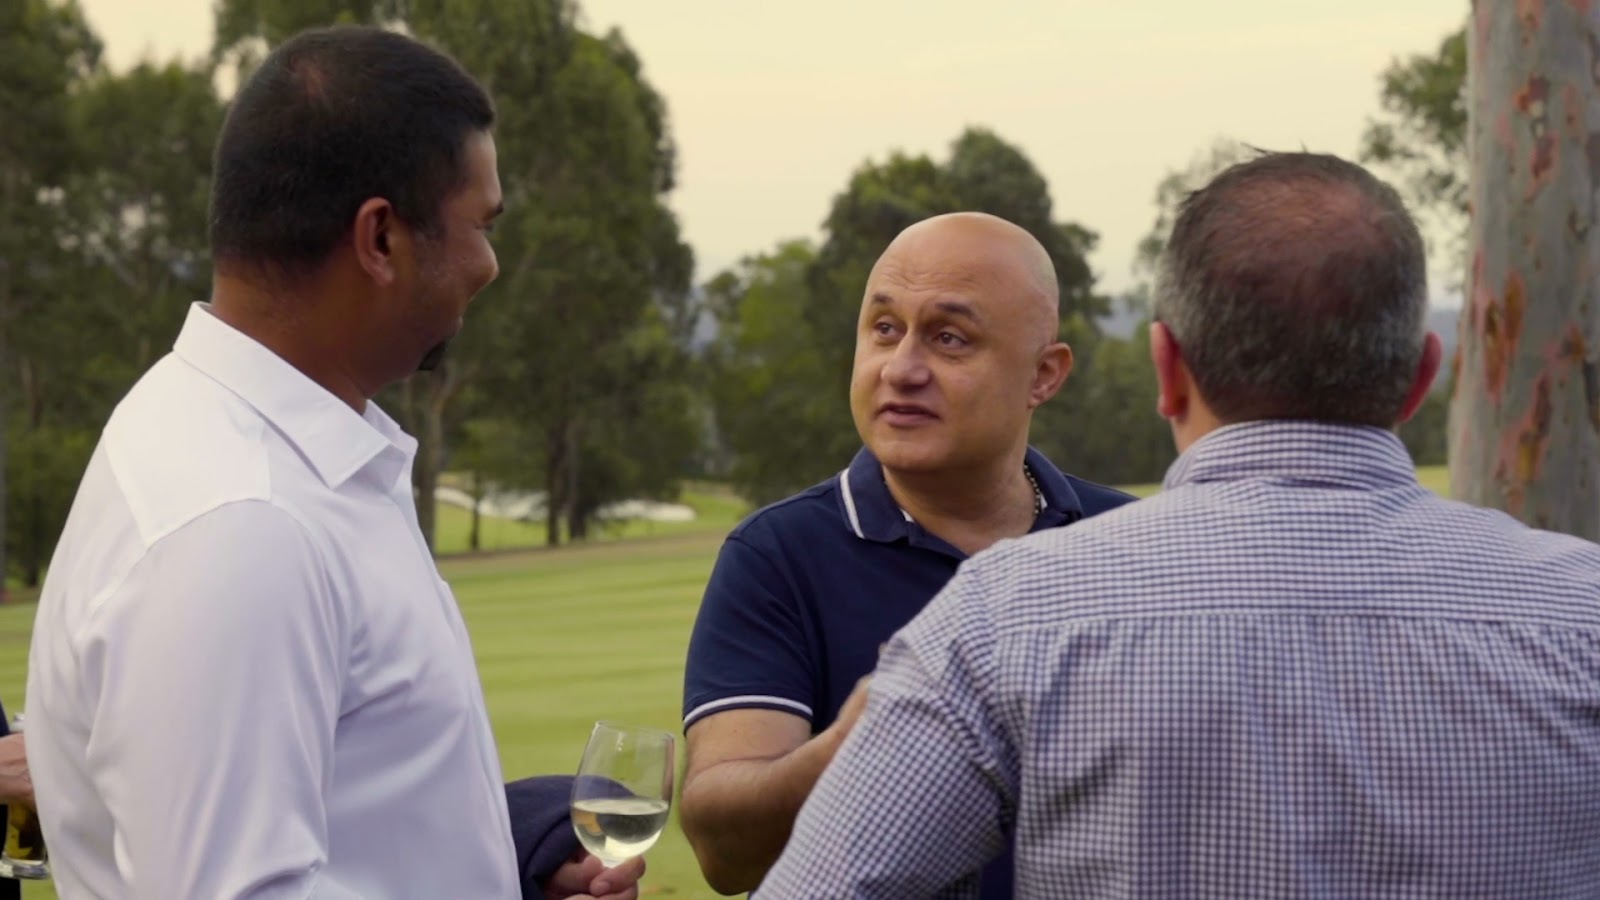
Mid shots are that happy medium. Showing context but focusing in on what is important for your audience to see.
Close ups are here to capture all the details that are important to your scene.
7. Record your video
Recording is arguably the most important step in the video process. Without recording you have no video! Here are 3 things to keep in mind when recording:
1. Record in takes: Instead of continually recording everything you need in one long clip, start and stop recording after each thing you do. For example, you read through the script once, stop recording and then start it again before starting the next read through. This will allow you to know easily which shots you want to keep and which ones you don't need. This will save you time finding footage as well as uploading time as you add your footage to the platform.
2. When recording cutaways, record 10 seconds of usable footage: 10 seconds is a good target length for cutaways as you want to allow room for your editor to cut them to the perfect length for your video. If they are shorter than that you can run the risk of not having enough footage to make the clip work in your video.
3. Make sure you have enough space on your device before recording: SD cards and phone storage fill up quickly! So make sure you back up any footage you record and delete the footage from your device (or format your card) so there is always space to record your next video.